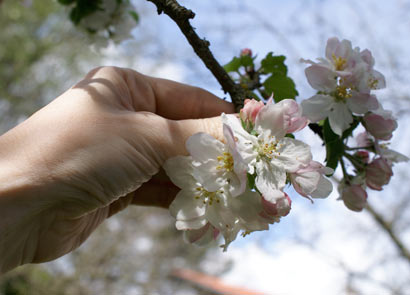
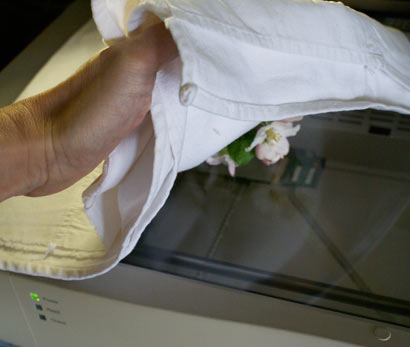
Choose an object (here I chose an apple tree flower). It can be anything that can be layed on a scanner. If it's something that is moving you'll obtain strange effects…
Lay it on the scanner (you may have to clean the glass afterwards…)
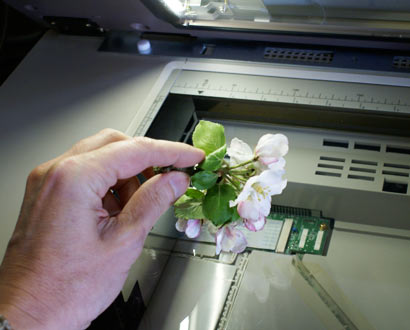
Put a white tissu over it (unless you want to have a black background as in Brian Krummel's pictures). It will be easier to cut out the background with the white tissu.
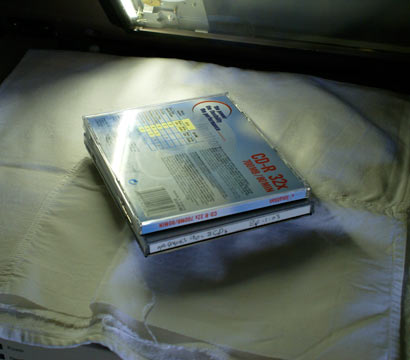
Press the object (if it allows to be squeezed) with something more or less heavy. That's because the scanner usually don't have a large depth of field, so the more all parts of the object are near from the glass, the more sharpness you will get. This is also optional because you may prefer blur on some places. We will detail lot of those options in the future!
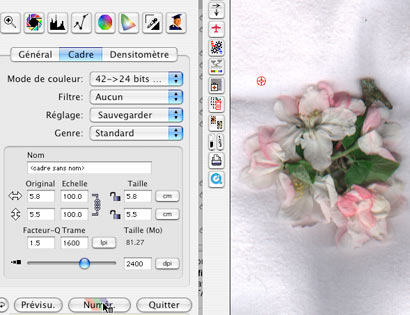
Previsualize your object with your scanning programm. The more dpi you give it, the more details you'll obtain. You will have to find the good equilibrium between the final size you want, and the weight of the file. I usually try to stay between 60 and 100 Mo. That gives the possibility for an image to be printed in offset at A3 format (don't forget in Offset you need to have 300 dpi).
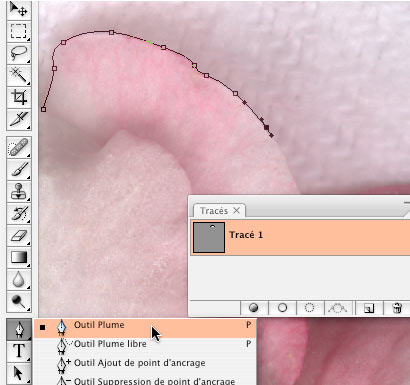
If you think the result doesn't stand on it's own, you can now cut out the background to keep only the object (or part of it) you wanted. For this, use the feather tool to create a mask in your imaging programm. So you can use the result in a layout programm or to combine it with other images (scanns or anything else…) as you can see examples in my own works.
|